Refined Transitional Living Room Mood Board

It's no secret that I have eclectic taste.  It is apparent in most of the designs I work on.  I especially love to combine bohemian/vintage touches with mid-century modern/contemporary design.  Unexpected and interesting!

Lately, however, my eye has been drawn to a more "elegant" aesthetic... which I have termed "refined transitional".  I consider it to be the youthful, casual, yet still tailored version of its uber-traditional design counterpart.

edesign interior design traditional modern eclectic contemporary vintage bohemian tufted chesterfield sofa leather accent chair settee


This room design has a traditional foundation; however, the clean lines and modern finishes make it appear less formal and more relaxed.  There isn't a lot of color or pattern in this design, yet the general mix of textures (linen, leather, wool, woven, brass, metal, etc.) keeps things dynamic.  I could envision this design coming to life in my own living room!

Here is a closer look at the beautiful pillows...

etsy bohemian indigo ikat metallic shimmer home accessories textiles

Interested in having a room custom-designed for you?  Now is the time to take advantage of the limited time special promotion I'm running!  Click here for details.

LET'S CONNECT

INSTAGRAM I PINTEREST I FACEBOOK


Sharing with: Home Stories A to Z, Inspiration Gallery, Inspire Me Mondays, Wow Us Wednesdays

Limited Time Only: Mini E-Design Special Promotion!

Summer is here, and I am officially kicking it off with a limited time "mini" e-design special promotion!  NOW is the time to get your rooms designed!

edesign interior design special promotion mini design boards

Open concept rooms (i.e. living/dining) are an additional $50.00.  Special pricing expires on June 10, 2015, with only a limited number of spots available.  The design can be redeemed anytime in 2015.  You can purchase multiple mini e-design boards!  To reserve your spot and to take advantage of the special pricing, please e-mail me at cdamasco20@yahoo.com.  First come, first served!

LET'S CONNECT

Oh, the television! {Family Room Renovation}

If you've been around here the last few months, then you know that our family room remodel is taking for...ev...er...!!!  We hired out the bigger aspects of the renovation, and decided to DIY the "manageable" projects to save money.  That being said, those DIY renovation projects have lingered longer than anticipated.  Our busy schedule just doesn't leave much time for DIY home improvement.  But even slow progress is progress...  Even in its raw construction state, the room looks much improved since we bought our home two years ago!

CAD INTERIORS family room renovation built ins with ikea bookshelves
May 2015
brick fireplace faux wall paneling non structural beams
May 2013 (Excuse the dark, pre-blog cell phone photo)
My handy hubby made lots of progress on the built-ins this past weekend!  I tried to get fired from being his assistant the entire 15 minutes he put me to work, but it wasn't working. #i_even_got_a_splinter

CAD INTERIORS family room renovation IKEA cabinets

As you can see above, the top portion of the brick on the fireplace has been covered.  I had to re-work the design several weeks ago after realizing the pre-fab cabinetry that we purchased for the shelving units would not accommodate a television.

The original design of the built-ins was much simpler - with the TV housed on a shelf in the cabinetry (with no need to build out the top of the fireplace).  I have always preferred that televisions NOT be mounted over a fireplace for two reasons: 1) I prefer to keep the focal point on the fireplace and not have it compete with a black TV box, and 2) I prefer eye-level television viewing (no strained necks).

As luck would have it, our television has to be mounted over the fireplace.  The cabinets we used are side-by-side units that don't have the width to accommodate a TV.  We don't want to cut the panels and compromise the structure, so "Plan B" it is.

In order to mount the TV and conceal the hookups (since we didn't have electrical installed in the brick), my handy hubby built out the top portion of the fireplace.  The electrical will run discreetly behind the wood frame and will be connected to the junction box behind the shelving.

DIY built ins CAD INTERIORS family room renovation

Here's a look at part of the construction process for building out the top half of the fireplace.  Since this photo was taken, additional wood slats were installed to account for the placement of the TV wall mount.  My hubby will drill into the wood (which will serve as studs) to mount the television.  It may seem straightforward, but there was A LOT of measuring, leveling, and re-measuring involved.

built ins brick fireplace IKEA bookshelves cabinetry
Custom doors will be installed on the bottom shelves for concealed storage.  The top will have open shelving.
The entire unit will be painted and framed out with molding.  We will hopefully achieve a custom built-in look without the expensive price tag!  I'm itching to back the shelves with wallpaper too. :)

Click here to catch up on all posts related to the family room remodel!

Living with contemporary design

I have noticed a trend of homeowners wanting ultra modern, sleek, contemporary interiors - at least here locally.  I'm talking exposed concrete and the heavy use of steel inside their homes.  This "style" can look and feel very stark and cold to many, but it can also be quite beautiful when properly integrated into a home's design.  If you happen to live by the ocean, or in a climate with strong weather elements, concrete and steel structures may become your best friends.  Both are highly durable and low-maintenance.

Here are a few ways that I believe contemporary design can be both architecturally pleasing and inviting for (almost) everyone:


modern contemporary interior design

This polished concrete wall speaks volumes by itself - not requiring any embellishment with artwork or the like.  The "natural" troweled marks made in the poured concrete surface, combined with the way it was scored, gives the wall depth, dimension, and lots of interest.


design tips modern design
Uptic Studios

The wood ceilings and wood-paneled wall provides much-needed warmth and texture against the modern concrete and glass features.  The introduction of wood furnishings (tables) and natural fibers (area rug) bring additional texture and dimension to the space.


painted steel beams modern contemporary interior design

Steel beams, concrete, glass, wood, and drywall collide in this home.  By painting only the steel ceiling beams and the drywall, the space got a major dose of depth and dimension, as well as color and contrast.  Painting out some of the "gray" that is inherent with concrete and steel helps remove some of the cold and stark qualities associated with contemporary design.


modern contemporary design

I know this is an exterior image, but for the sake of illustration, imagine a home with  a concrete and steel interior take on new "life" with the addition of natural greenery!  Plants add color, texture, depth, dimension, and a natural element to all spaces.  They also help improve indoor air quality.  I am a huge fan of living plants in the home - for the natural beauty, color, and life they add!

Did any of my design tips help you warm up to the idea of living with contemporary design?!

Shared with: Home Stories A to Z, The Chronicles of Home

ORC Design Takeaways

Happy Monday!  Hope you had a great Mother's Day weekend.  Being a mother has been my biggest blessing.  It is my most important role, and I am thankful each and everyday to have the humble privilege of raising my two sweet boys.  I am also so grateful to be a part of a family with the most loving, kind, caring, supportive, and devoted women... my own beautiful mom and beautiful sisters.  They have been there every step of the way!


Now onto some beautiful design features...

Did you all get a chance to see the ORC makeovers revealed last week?  I made my way through some of the twenty featured spaces, and am slowly getting to the rest.  Eye candy overload - yay!  Here are some of my favorite design takeaways:


SIMPLE DETAILS

One Room Challenge Simple Details

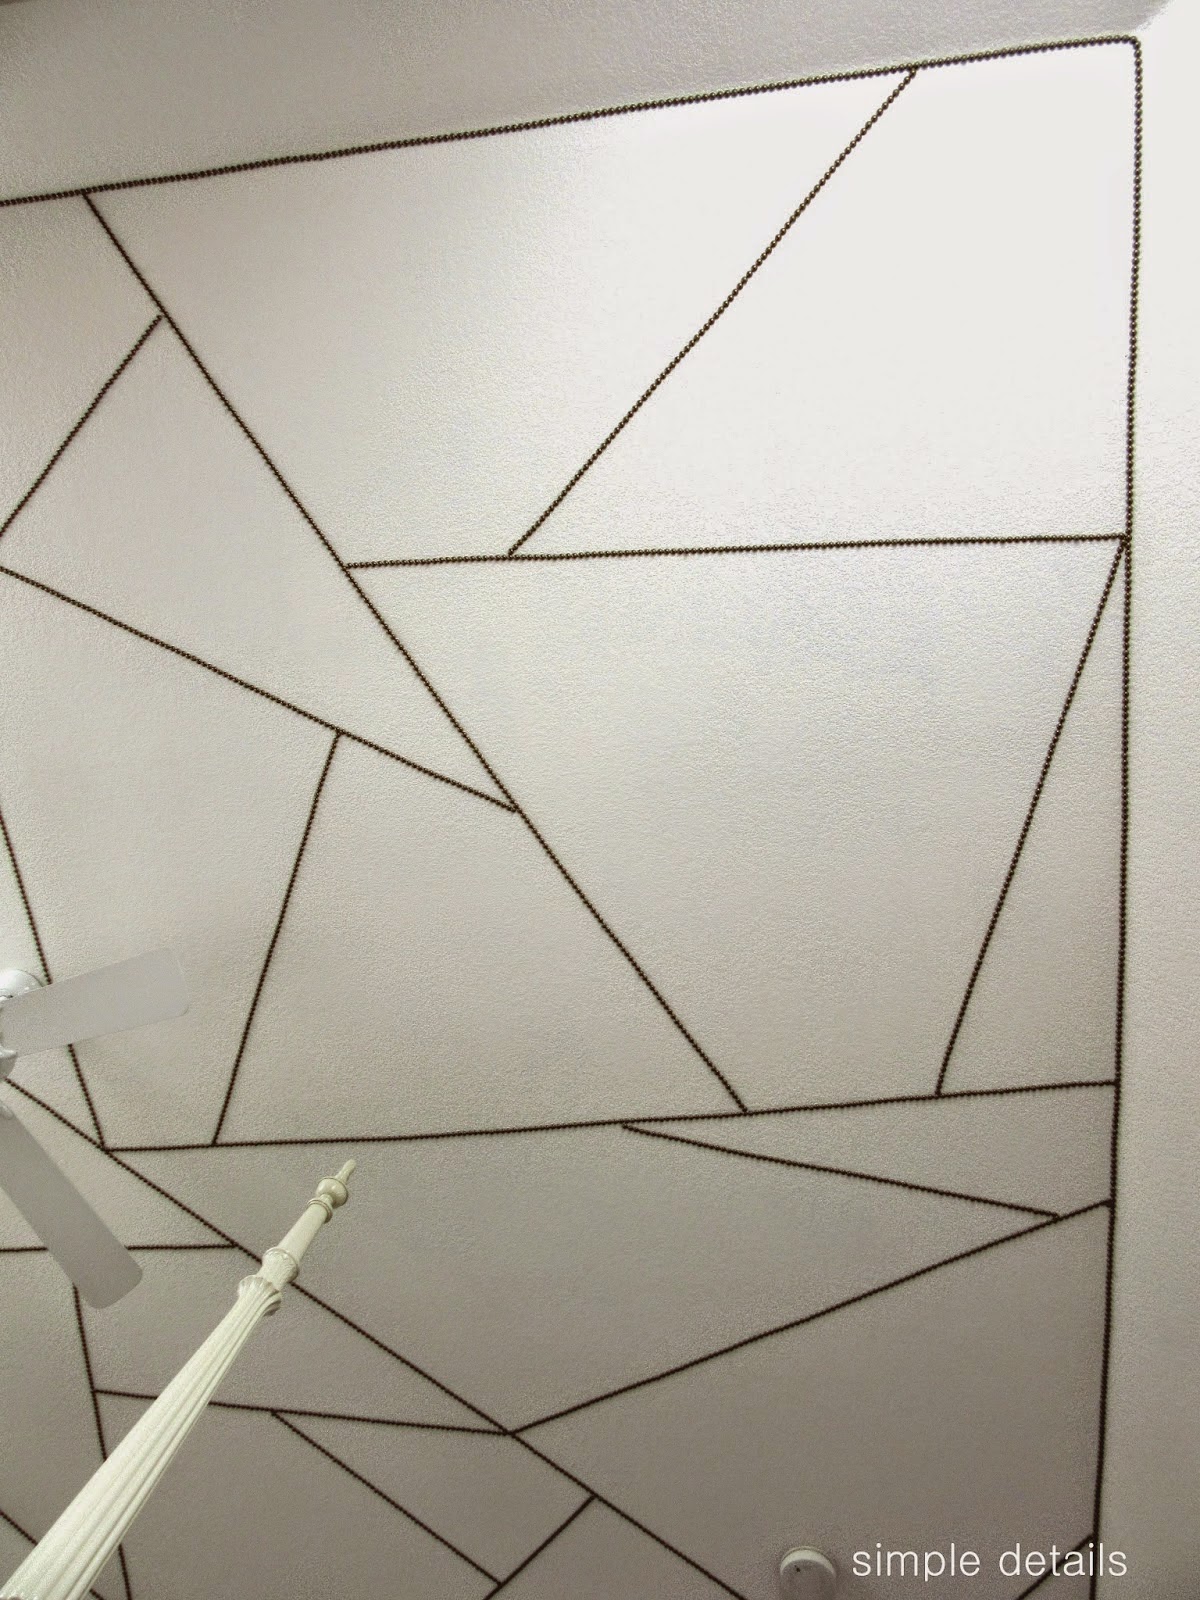
Pam "nailed" it with the ceiling.  I love the prominence and dimension she gave to her client's tray ceiling by installing a random geometric pattern with... nailheads!  Genius.  Talk about major wow factor.  Here's a closer look at the fabulous ceiling:


One Room Challenge Simple Details

There were so many beautiful things to note in this makeover, including all the Craigslist finds that Pam upcycled and incorporated into the room!

SIMPLY GROVE


One Room Challenge Simply Grove

Tight on bedroom space?!  Mount a shelf to create a little bedside table!  The minimal look of this room makes it feel so calm and fresh - perfect for a soothing and restful night's sleep!


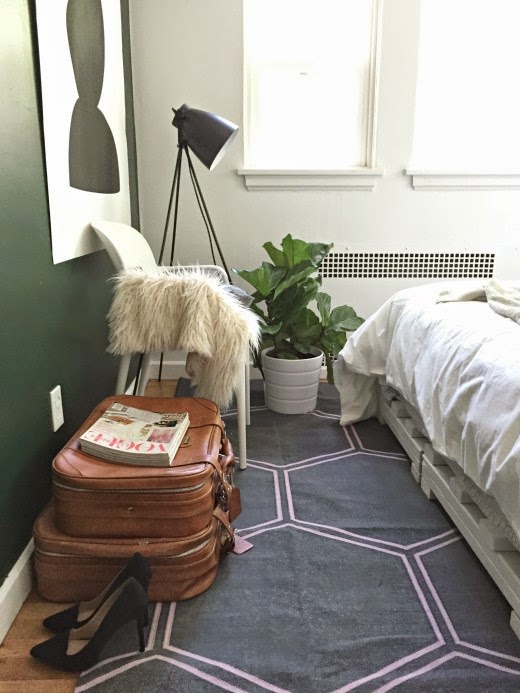
One Room Challenge bedroom makeover Simply Grove

I also love the pallet bed frame that Kirsten's nephew built, the geometric rug, and bold accent wall choice!

6TH STREET DESIGN SCHOOL

One Room Challenge 6th Street Design School kids bedroom makeover

Go big or go home!  I absolutely love how Kirsten emphasized the vaulted ceilings in her sweet daughter's bedroom.  She chose a toddler bed due to the room's smaller square footage, but "anchored" it with the large-scaled whimsical art piece to give it presence.  How I wish we had vaulted bedroom ceilings!  Art can be found here.


One Room Challenge little girls bedroom makeover

Such a fun color scheme for a little girl's bedroom!  I love injecting kids rooms with color.

I hope you found just as much design inspiration as I did in the ORC spring event!

Wrapping up two years...

We officially got the keys to our new-old home two years ago today, which means that we have endured two full years of renovation. :)  We have definitely been quite busy bringing our original 1955 ranch-style home up-to-date!


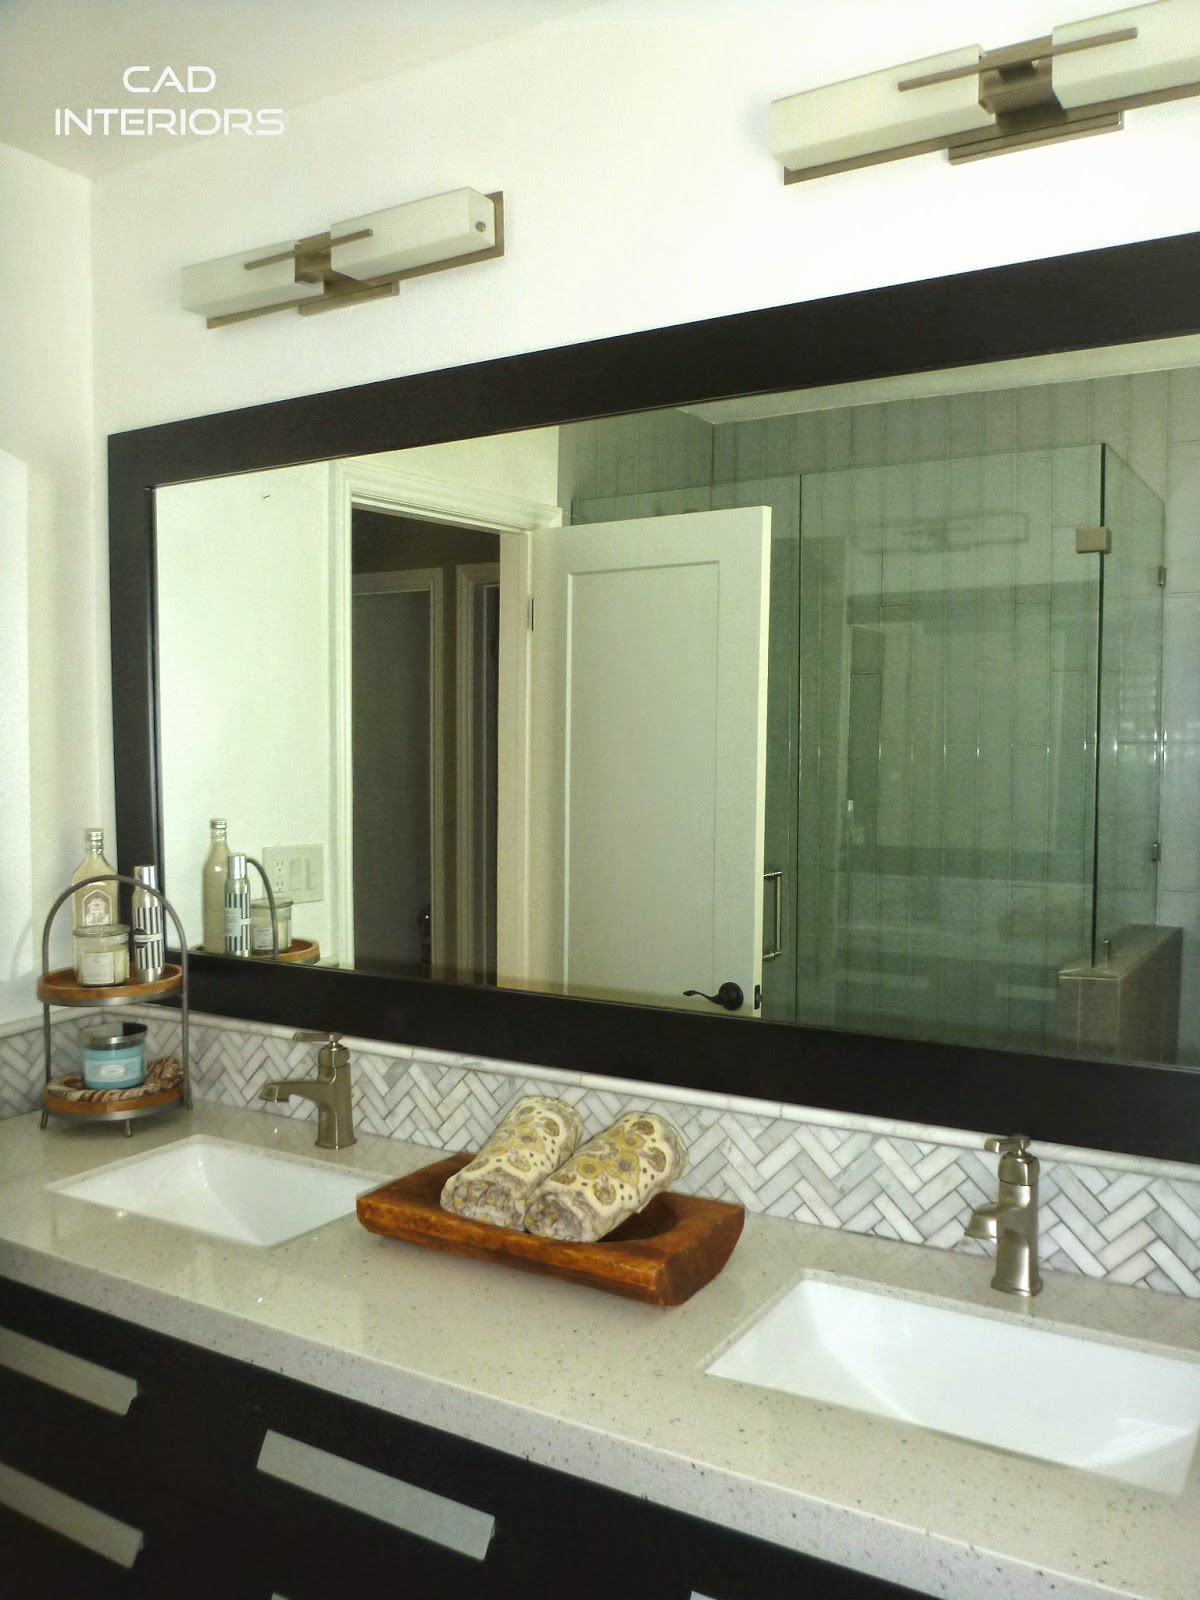
bathroom renovation herringbone quartz porcelain ceramic tile modern bathroom

In the second year, the more notable renovation projects we tackled included the main bathroom renovation, creating an indoor laundry space, kicking off the front exterior makeover, and starting our family room remodel.  We also installed shutters and bathroom doors!  You can read about our journey to this home here, and click on the links below for the major projects we tackled during the first year.

stripes pattern bedroom makeover renovation shutters shared boys bedroom


The first year was also filled with several structural and general improvements.  The ceilings were scraped and smoothed, recessed lighting was installed, a new furnace went in, all new ductwork was installed, some structural reinforcement was done, and new energy-efficient windows were put in.  Whew!

As we head into our third year of transforming this home, it would be natural to complain about having to constantly live through renovations...


DIY built-in cabinets brick fireplace pendant light fixture wood ceiling beams

But whenever the renovation "inconveniences" start to take its toll, I try to re-focus and just appreciate the fact that we are blessed with a great home in a fantastic neighborhood... a home where our boys can grow up and enjoy life in a "rural" setting, but within a big city... a home that fits our young family now, but is also "right sized" for when the boys grow up or when we become empty-nesters... a home that we are able to put our personal stamp on over time.

Thanks for sticking with me through this renovation journey!

Shared with: Home Stories A to Z, The Inspiration Gallery, Thrifty Decor Chick, Inspire Me Mondays

ORC Reveals & Quick Reno Update

Six weeks ago, a group of twenty interior designers and design bloggers embarked on Linda's One Room Challenge spring event to transform a space within a six-week timeframe.  Technically speaking, they really only have five weeks since week six is all about the big reveal.  Well, today is reveal day folks!  Head on over to Linda's blog and click on each of the participant links to see their newly done spaces.  Don't forget to check back tomorrow since it is reveal day for all the other linking participants.  I can't wait to check out all the spaces!


Around here...

Our family room remodel is moving right along, but the new flooring will now get looped into our upcoming renovation plans.  Over the next several months, we will be living through the next phase of major renovation.  I am bracing myself for the dust and inconvenience, but am looking forward to the end result.  I'm hoping our house is back "in order" in time for the fall ORC event.  Maybe I'll take the six-week challenge myself?!


Here's a progress shot of the DIY built-ins going up in the family room:


IKEA hack besta bookcase cabinets brick fireplace makeover

LET'S CONNECT

Low ceiling inspiration

I have been thinking a lot about that "fifth wall" that people often neglect: the ceiling.  Lower ceiling heights are particularly on my mind since it surrounds me.  With the exception of our family room, the ceiling height in our home is just under 9 feet - typical of the mid-50's era in which our home was built.


For those of you with similar lower ceiling heights, here are some examples of how you can make them a feature:

low ceiling ideas inspiration

Keep it smooth and install recessed lighting.  It helps to have this view though, right?!  The furnishings also have a "shorter" profile to visually help elongate the ceiling height.

low ceiling design tips
Nest Architects

Paint the ceiling black to "recede" behind white battens.  Great design trick, especially in light-filled spaces!

low ceiling ideas inspiration

Install shallow depth trim (1") to create an architectural tray ceiling.

low ceiling ideas inspiration beams

Install wood on the ceiling to add texture and depth.  Combined with beams, the ceiling also has a "recessed" appearance.

low ceiling inspiration ideas

Beadboard on the ceiling adds instant charm and character.

low ceiling ideas inspiration

Use a different paint color to highlight the beadboard.

rustic industrial corrugated metal low ceiling ideas inspiration
Princeton Design Collaborative


Corrugated panels were used on the ceiling of this height-challenged lower living space.  It adds an industrial touch against all the wood tones.

low ceiling ideas inspiration paint wallpaper
via

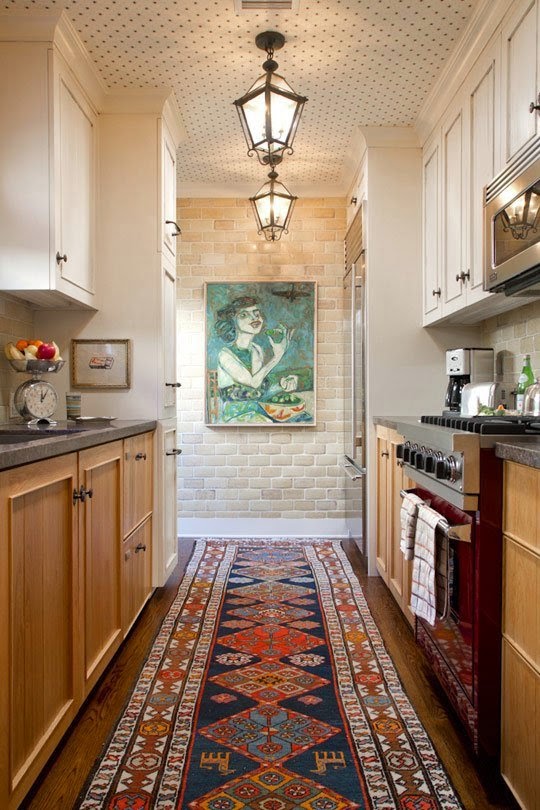
Simply add an interesting design to the ceiling surface via paint or wallpaper, and showcase it with beautiful lighting!


Sharing with:
Kenarry: Ideas for the Home