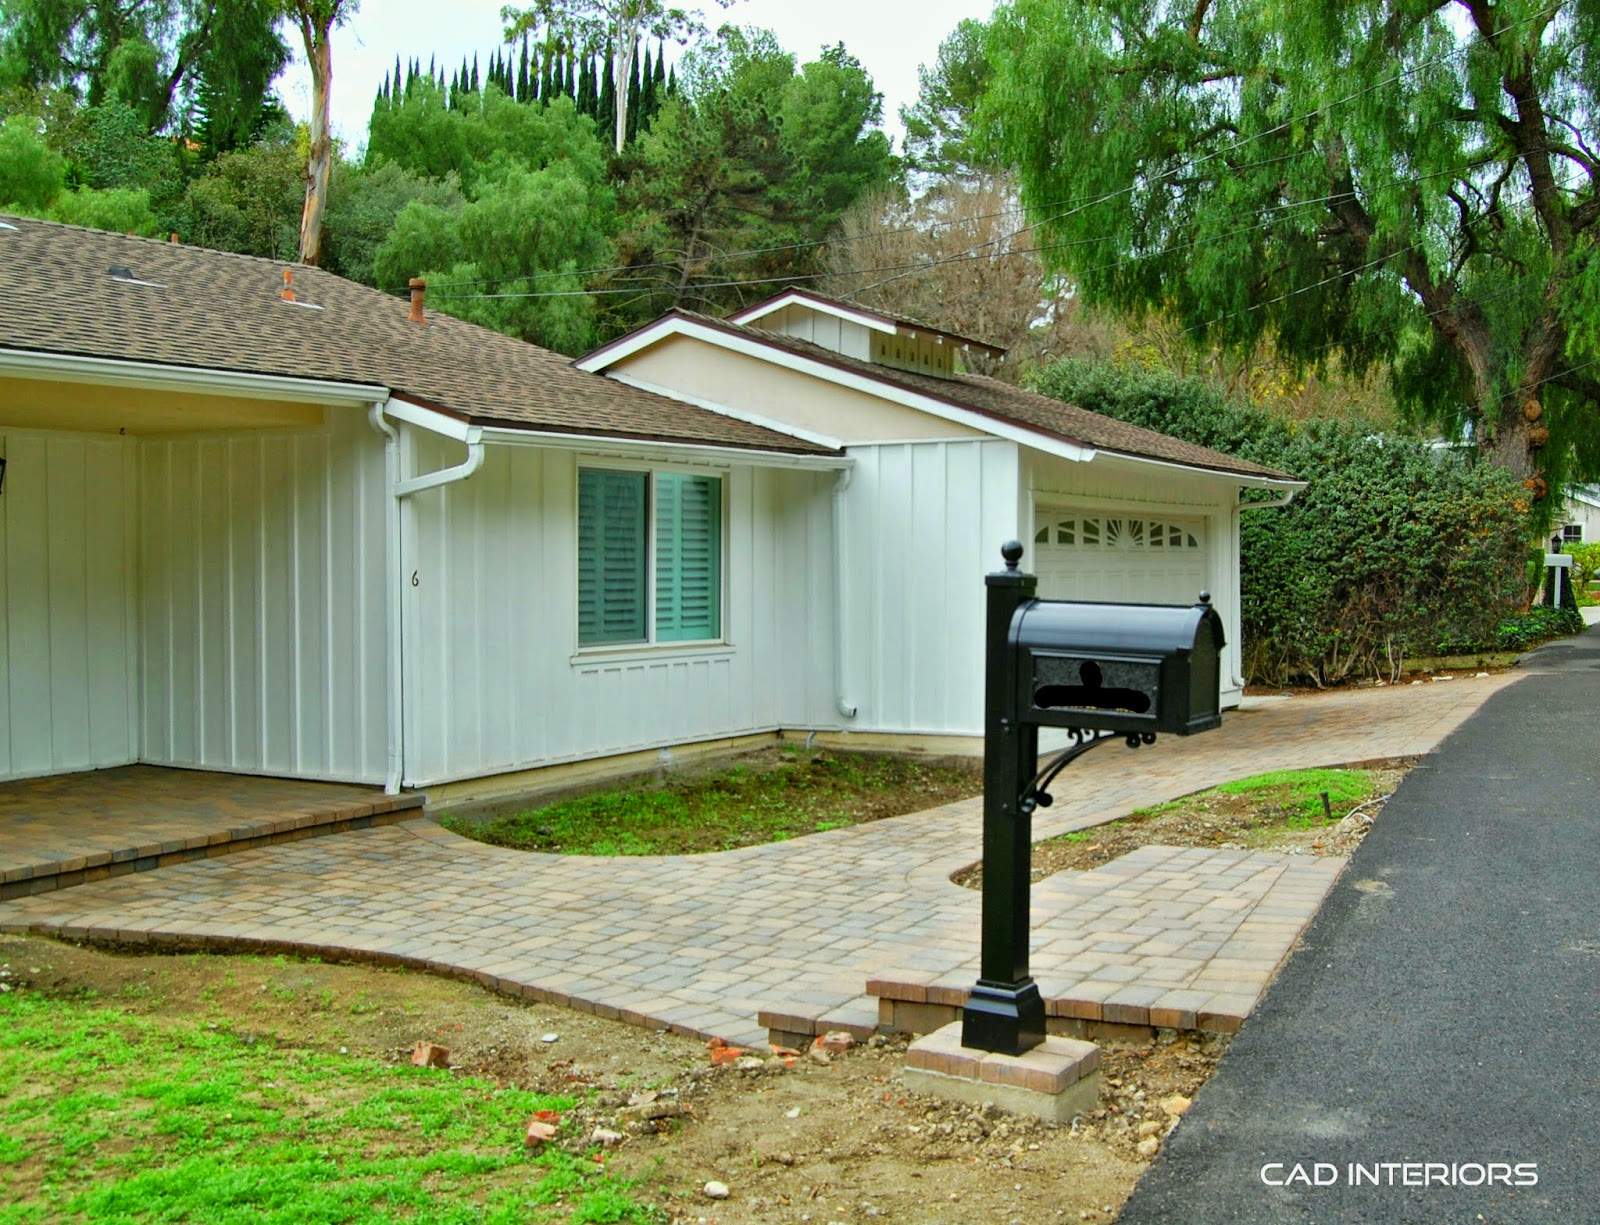
Late last year, we had new interlocking pavers installed as part of our front exterior makeover. Today, I'm sharing all the details about the new hardscape.
The landscaping hasn't gone in yet, so let's just ignore its unappealing state and focus on the hardscape, okay?? :)
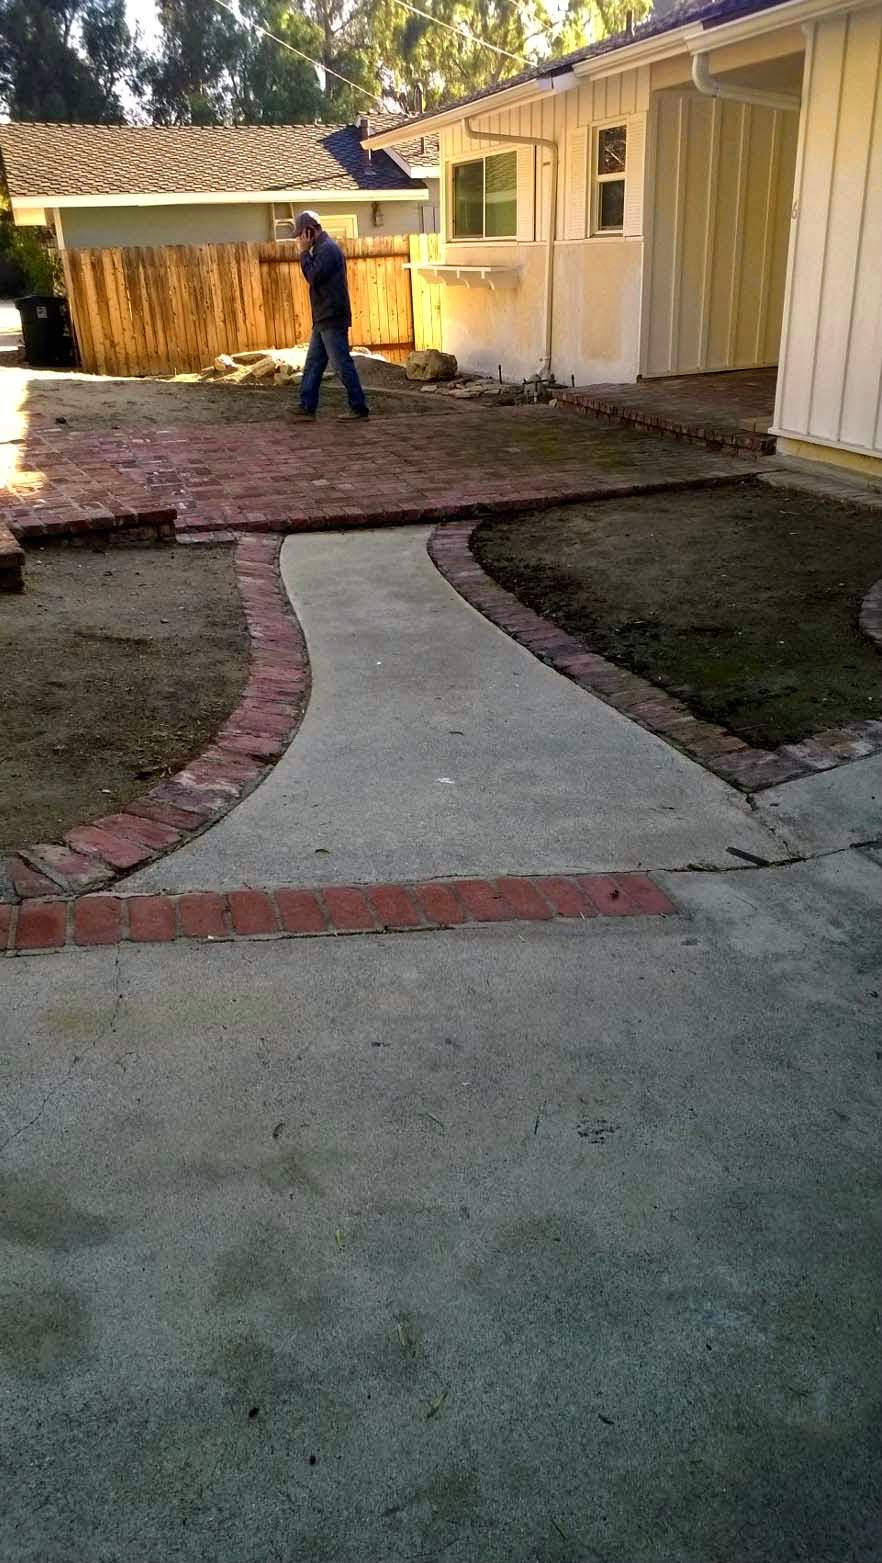
The MLS photo did a great job of disguising the true condition of the hardscape. Up close, the brick looked like this:
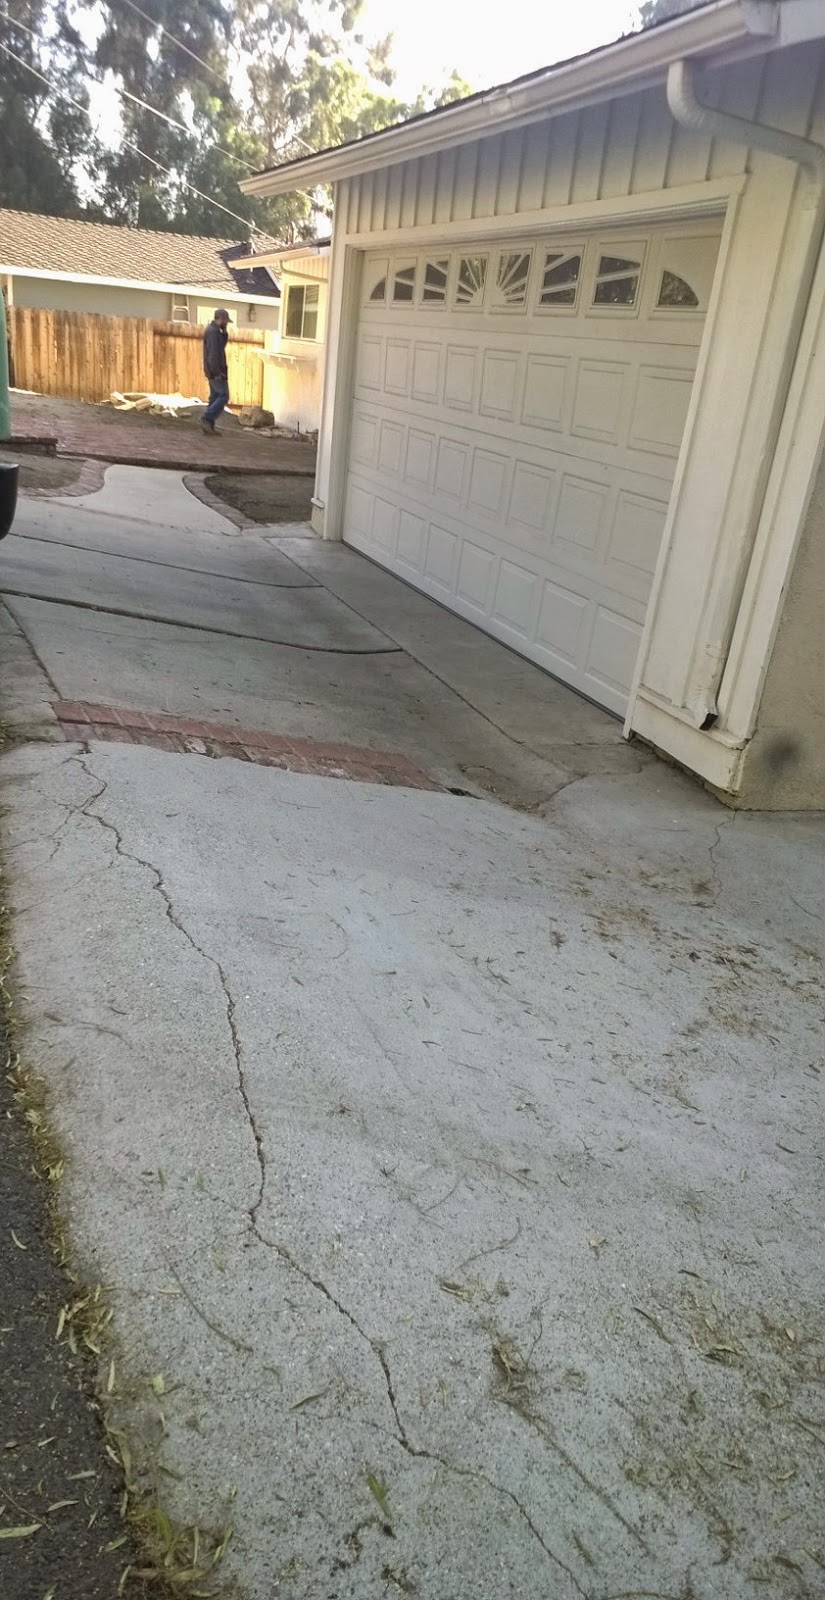
Replacing the "cracked" concrete with pavers in front of the garage and adjacent driveway made quite the difference. It gave the entire front facade a clean and cohesive look. It was definitely a worthwhile investment.
The landscaping hasn't gone in yet, so let's just ignore its unappealing state and focus on the hardscape, okay?? :)
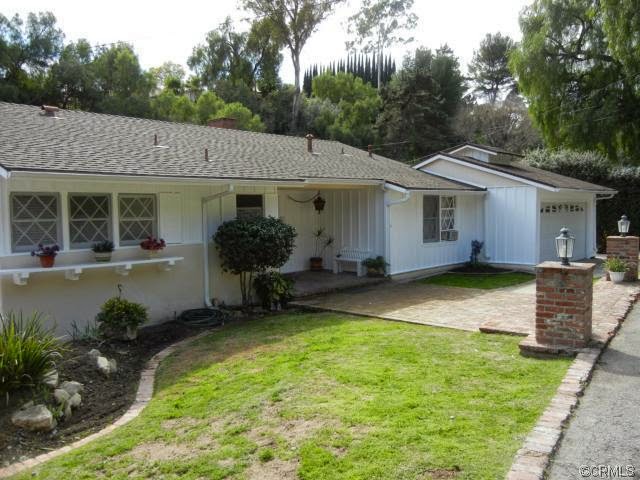
This is how the front exterior/hardscape previously looked:
The MLS photo did a great job of disguising the true condition of the hardscape. Up close, the brick looked like this:
The brick was literally crumbling or falling off! It wasn't cost-effective to try and salvage it, so we opted to just replace it. We chose interlocking concrete pavers since they are not as traditional as brick, but are still in keeping with the home's ranch/rambler architecture.
This is the area in front of the garage after the pavers went in:
The before:
Replacing the "cracked" concrete with pavers in front of the garage and adjacent driveway made quite the difference. It gave the entire front facade a clean and cohesive look. It was definitely a worthwhile investment.
This is the pathway from the garage leading to the front entry:
The before:
The main change to this area was the removal of the "step" off the main pathway. The step was a trip hazard and made the pathways feel a little choppy to me. It is now "flat" and continuous.
Here's a different angle of the pathway between the front entry and the garage:
Looking at these photos is making me even more anxious about the landscaping. The delay is another story...
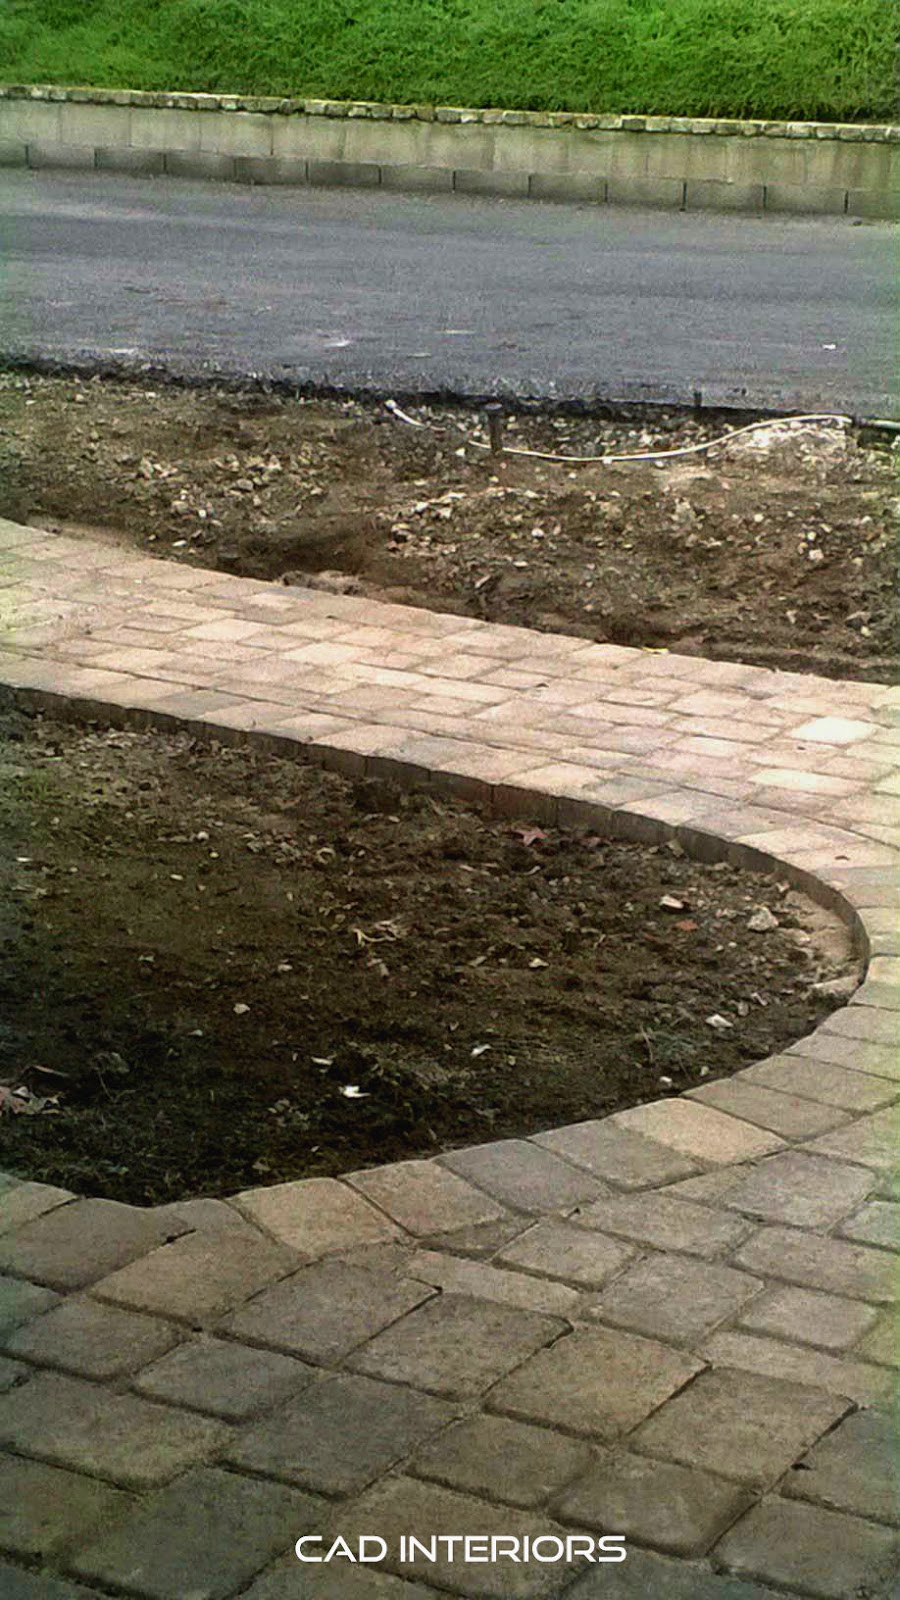
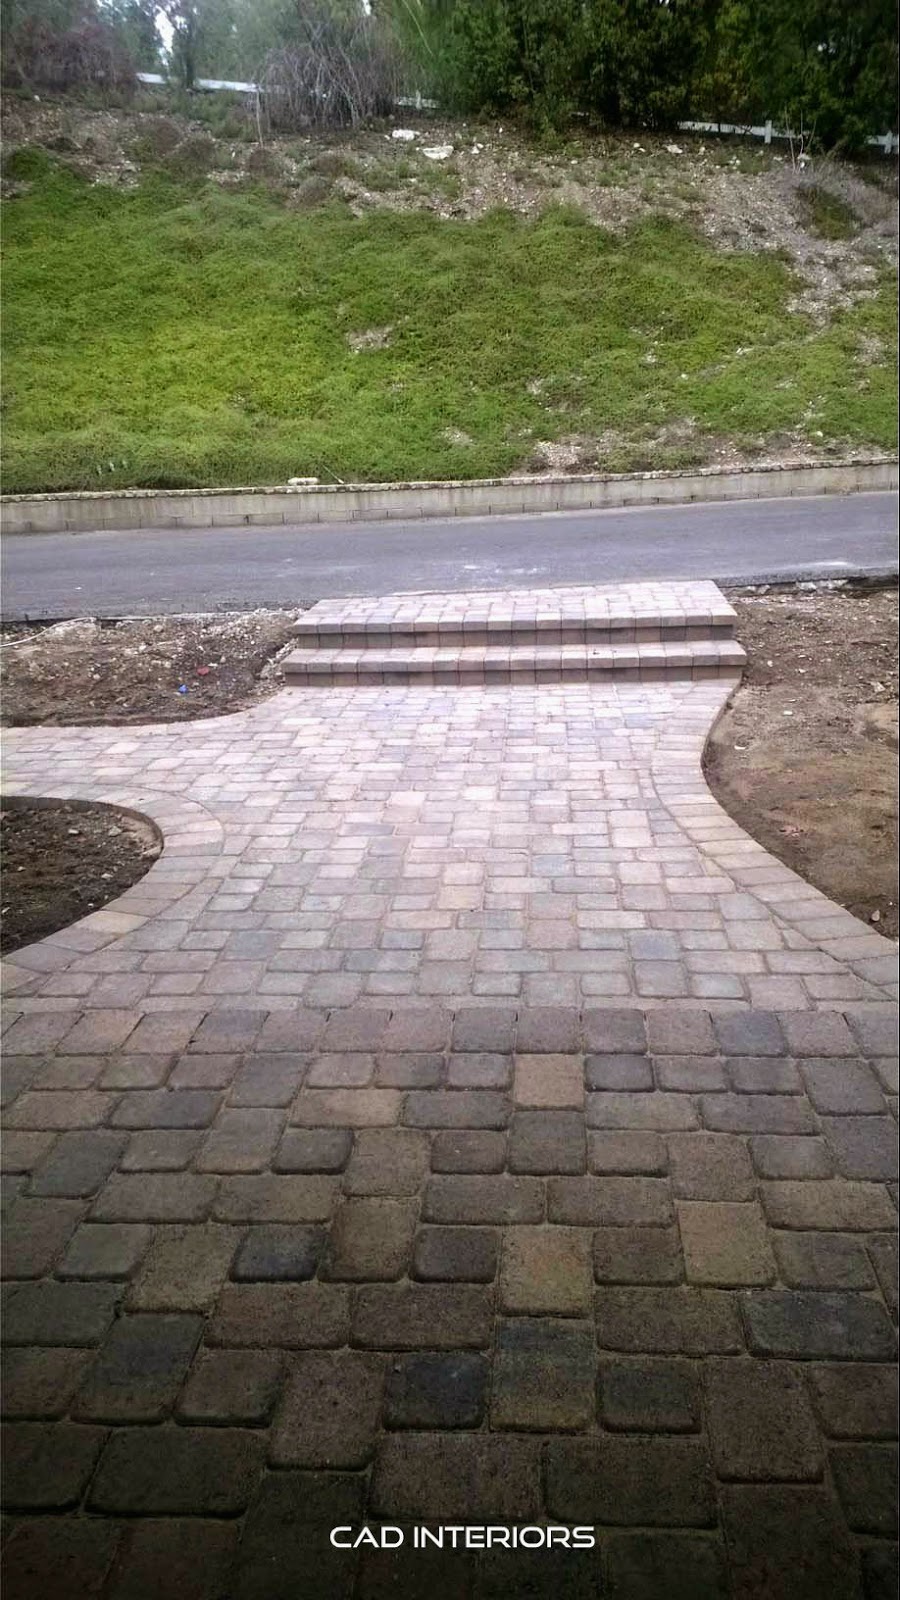
Here's a look at the main pathway at the front of the house (looking out towards the street):
We "slimmed" it down to about 7 feet wide, which is plenty wide. It was unnecessarily much wider before. Because our front door is off-center, we also went with a "curved" path instead of the former straight path.
The pillars that previously flanked the landing off the street were also eliminated. Although they held outdoor lights, they were in bad shape.
Rather than rebuilding the pillars, we opted to install LED lighting on the steps instead.
The pillars that previously flanked the landing off the street were also eliminated. Although they held outdoor lights, they were in bad shape.
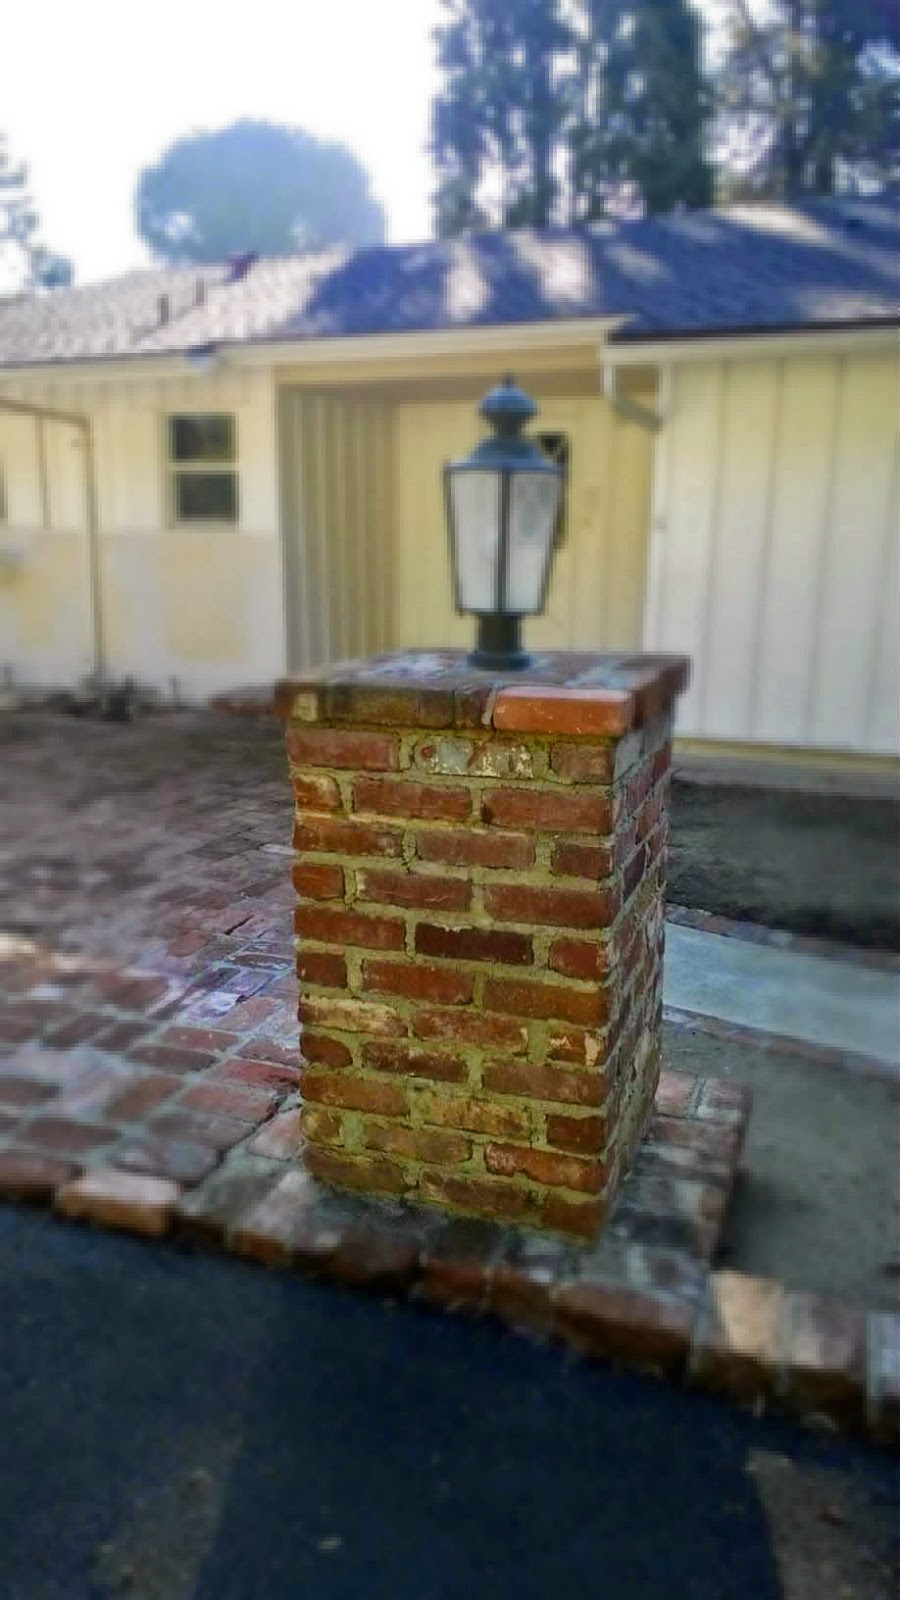 |
| The old pillars |
Rather than rebuilding the pillars, we opted to install LED lighting on the steps instead.
We selected interlocking concrete pavers called "Bella". It is manufactured by Belgard. The pavers have a warm brown tone with hints of gray running through them. They have a cobbled texture, giving them an organic and tumbled appearance.
We saved some money by selecting regular pavers with a cobbled texture, rather than actual tumbled pavers. The difference is negligible to the amateur eye. The pavers also have rounded, beveled edges. I think it gives it a more natural and soft look when laid out.
We varied three different-sized pavers and had them installed in an "I" pattern. A protective sealant was also applied on top.
You can also spy our new mailbox (with the address plaque "blacked out")! It looks like this, but in a black finish:
It has a very large capacity, which is great for holding small packages and bulk mail!
We saved some money by selecting regular pavers with a cobbled texture, rather than actual tumbled pavers. The difference is negligible to the amateur eye. The pavers also have rounded, beveled edges. I think it gives it a more natural and soft look when laid out.
We varied three different-sized pavers and had them installed in an "I" pattern. A protective sealant was also applied on top.
Last, but definitely not least in importance, was the fact that the contractors had to address the elevation and sloping of our front yard. Our house actually sits at a slightly lower elevation than the street, so the contractors had to make sure that the pavers were laid in a manner that would ensure proper water run-off. Fortunately, we didn't have to install any costly drainage systems (like a french drain). The paver install was immediately put to the test with all the rain that drought-plagued California got this winter. And it passed!
You can also spy our new mailbox (with the address plaque "blacked out")! It looks like this, but in a black finish:
It has a very large capacity, which is great for holding small packages and bulk mail!
Landscaping is up next. I can...not...wait... It's ridiculous how challenging it's been to get this done. If it weren't for the fact that we need to bring in dirt, turn/mix the dirt, address the grading, etc., we would do it ourselves! We know our limits...






You have to understand that how important to embark on paving your driveway. Summit best paving and masonryfor your driveway. It will get a good atmosphere around your house.
ReplyDelete