Happy Monday! I'm needing an extra cup of coffee this morning as I adjust to "springing forward" with the time change. Are you feeling a bit sluggish too?
Since my last update, my hubby and I managed to tackle a few projects in our family room renovation. We still have quite a bit to accomplish, but slow progress is better than no progress, right?!
I am a novice DIY-er, but my hubby is quite handy and isforcing dragging me along for the dusty ride. I must say though, doing the work ourselves has been quite rewarding (but don't tell him I said that)! The main issue has been finding the time to do the work.
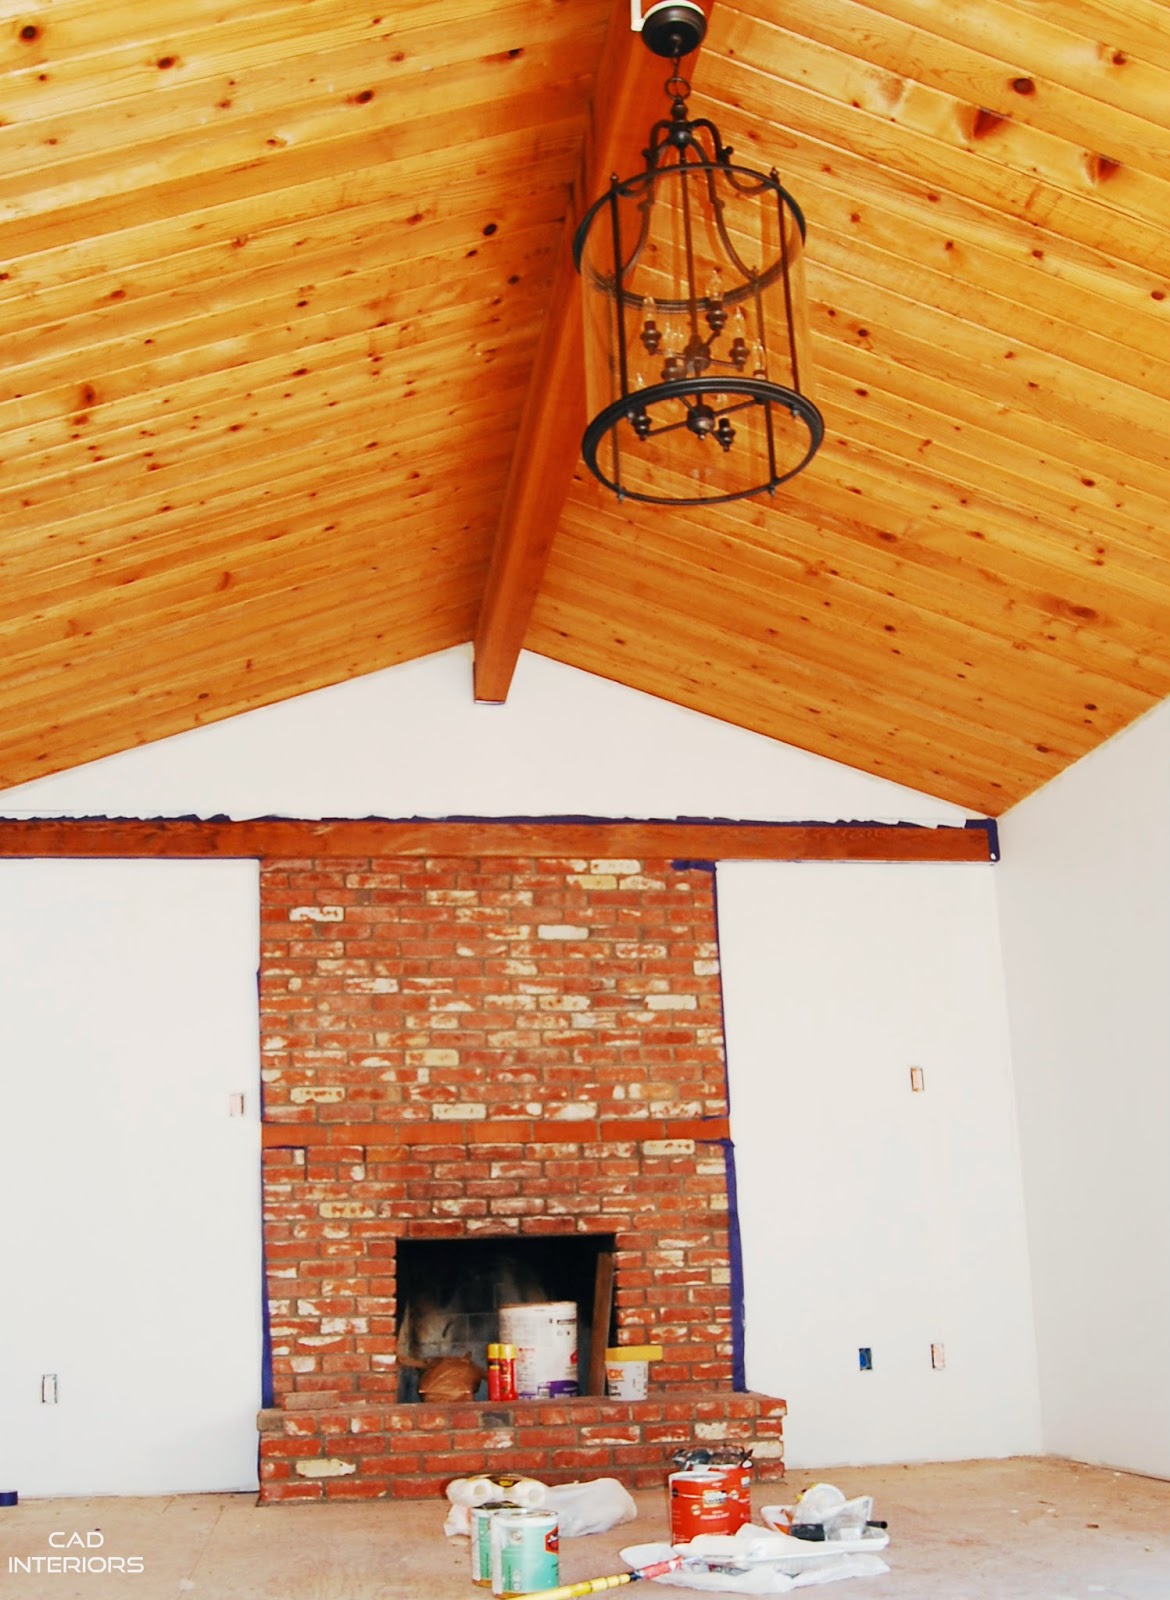
Our contractor hung the new overhead chandelier light fixture we purchased a few weeks back. I love its simplicity, and the style and scale suits the room perfectly.
We textured/primed (3 coats) and painted (3 coats) the new walls. Taking note of the look and feel I have been "pinning" for the room, I selected a solid white paint in a flat finish to serve as the backdrop.
We applied drywall primer directly onto the new sheetrock with a "semi rough" roller. This gave the walls the subtle texture we wanted, while bypassing the "spray and sandpaper" process. The primary benefit to adding texture is that it helps conceal surface imperfections (especially down the road). The walls and ceilings throughout our house are actually lightly textured. (Note: We specifically used drywall primer since we were working with new sheetrock. You could apply regular primer for other paint jobs.)
You see that white electrical cord? The solution I came up with was to find a wood stain similar to the color of the beams and apply it to the cord in order to camouflage it. Crossing my fingers that it does the job! Since we left the beams exposed (and chose not to paint them), there was no way to conceal the cord that connected the light fixture to the electrical source.
We also prepped the sub-floor for the new flooring. I pulled up thegazillion many staples left behind from the old carpet, and scraped off some residual compound from the drywall work. Despite a few aches from muscles I didn't know existed, this was actually my favorite part of the construction so far! Weird, I know.
We will also be sprucing up the fireplace, adding a new mantel, and installing built-ins.
As I was painting, an idea popped into my zany brain and I decided to try something special on the longest solid wall. My hubby nodded in agreement, although I don't think he really knows what I'm talking about. :)
The dutch door will also get a facelift and new door jamb. My hubby has already installed some of the moldings, and I will finish them off with paint.
The room is slowly taking shape, and we definitely can't wait to cross the finish line! Have you been working on any DIY home improvement projects too? To catch up on all the posts related to our family room renovation so far, you can click here.
Since my last update, my hubby and I managed to tackle a few projects in our family room renovation. We still have quite a bit to accomplish, but slow progress is better than no progress, right?!
I am a novice DIY-er, but my hubby is quite handy and is
So here is what we've been up to:
Our contractor hung the new overhead chandelier light fixture we purchased a few weeks back. I love its simplicity, and the style and scale suits the room perfectly.
We textured/primed (3 coats) and painted (3 coats) the new walls. Taking note of the look and feel I have been "pinning" for the room, I selected a solid white paint in a flat finish to serve as the backdrop.
We applied drywall primer directly onto the new sheetrock with a "semi rough" roller. This gave the walls the subtle texture we wanted, while bypassing the "spray and sandpaper" process. The primary benefit to adding texture is that it helps conceal surface imperfections (especially down the road). The walls and ceilings throughout our house are actually lightly textured. (Note: We specifically used drywall primer since we were working with new sheetrock. You could apply regular primer for other paint jobs.)
We also prepped the sub-floor for the new flooring. I pulled up the
We will also be sprucing up the fireplace, adding a new mantel, and installing built-ins.
As I was painting, an idea popped into my zany brain and I decided to try something special on the longest solid wall. My hubby nodded in agreement, although I don't think he really knows what I'm talking about. :)
The dutch door will also get a facelift and new door jamb. My hubby has already installed some of the moldings, and I will finish them off with paint.
The room is slowly taking shape, and we definitely can't wait to cross the finish line! Have you been working on any DIY home improvement projects too? To catch up on all the posts related to our family room renovation so far, you can click here.


No comments :
Post a Comment
Thank you so much for visiting CAD Interiors! I appreciate you stopping by to read the post and leaving a comment. I will respond so check back. Have a great day!