As part of my snail-paced ongoing effort to decorate my boys' bedroom, I finally got around to creating a focal gallery wall behind where their beds are positioned. It has actually been up for a couple months now, and I surprisingly haven't changed things up! #iamfickle
I wanted to create a gallery wall at minimal cost. Since I have so many picture frames in storage, I was initially going to reuse a few for a more collected look. However, as I was laying things out, I realized I wanted the actual color to come through the images. I wanted the photos and artwork to take center stage, not the frames.
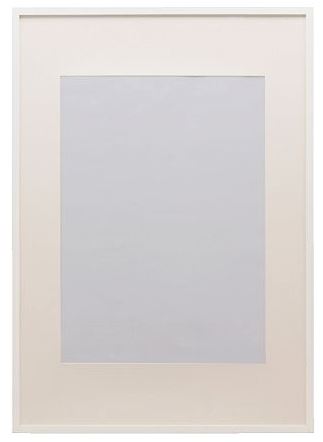
So, I purchased four white Ribba frames in two different sizes to accomplish the look I wanted. I did end up adding in a coordinating blue frame that I already had, as well as a free table lamp to create more visual balance and "weight".
Design Tip: An odd number grouping of images will help you achieve a balanced look when creating asymmetrical wall arrangements.
What better way to personalize the kids' focal wall than with their actual photos and artwork? So easy and cheap (or free)! With simple white frames, I will also be able to easily rotate out their pictures and add to the gallery wall over time, if I so choose.
Shopping Tip: Ikea is a great source for simple and very affordable wall frames. The Ribba frames come matted and are available in various sizes. Grouped together, they create big impact at low cost!
My boys' bedroom is now looking a bit more pulled together with the addition of the focal wall. The room is still a work in progress, but it certainly has come a long way from what we inherited.
Sharing with: Wow Us Wednesdays, Share Your Style, Think and Make Thursdays, The Inspiration Gallery, Your Turn to Shine, Inspire Me Monday, Home Stories A to Z, The Shabby Nest, Feathered Nest
Sharing with: Wow Us Wednesdays, Share Your Style, Think and Make Thursdays, The Inspiration Gallery, Your Turn to Shine, Inspire Me Monday, Home Stories A to Z, The Shabby Nest, Feathered Nest


The frames are placed impeccably. Great tip for the odd number. Also, the little detail to add a blue mat in just one photo, is a statement. And makes the whole arrangement flow.
ReplyDeleteYou know how pictures are a 1000 words? I realized this: "I wanted the photos and artwork to take center stage, not the frames." just by looking at your photos, right before I read it.
Good photography there. :)
Thank you! I eyeballed the placement of the frames, while my husband hung them. It was an interesting process! Glad you like the arrangement... :)
DeleteLove this! I love how the white frames look with the blue. Pinning, thanks for sharing!
ReplyDeleteThanks Jody! Glad you like the gallery wall. Thank you for stopping by too. :)
DeleteGreat tips on where to find frames and to hang them in odd numbers. The focal wall looks fantastic. I love your decor style. Stopping by from Your Turn To Shine :).
ReplyDeleteThanks Amy! I appreciate you stopping by, and leaving the time to comment. :)
DeleteRibba frames are great! And your gallery wall is so nice - I'm sure your sons are proud to see their artwork framed and hung on the wall :-)
ReplyDeleteThank you so much! My boys' room is filled with their artwork. I love seeing it up as much as they do. Thanks for stopping by and taking the time to comment. :)
Delete